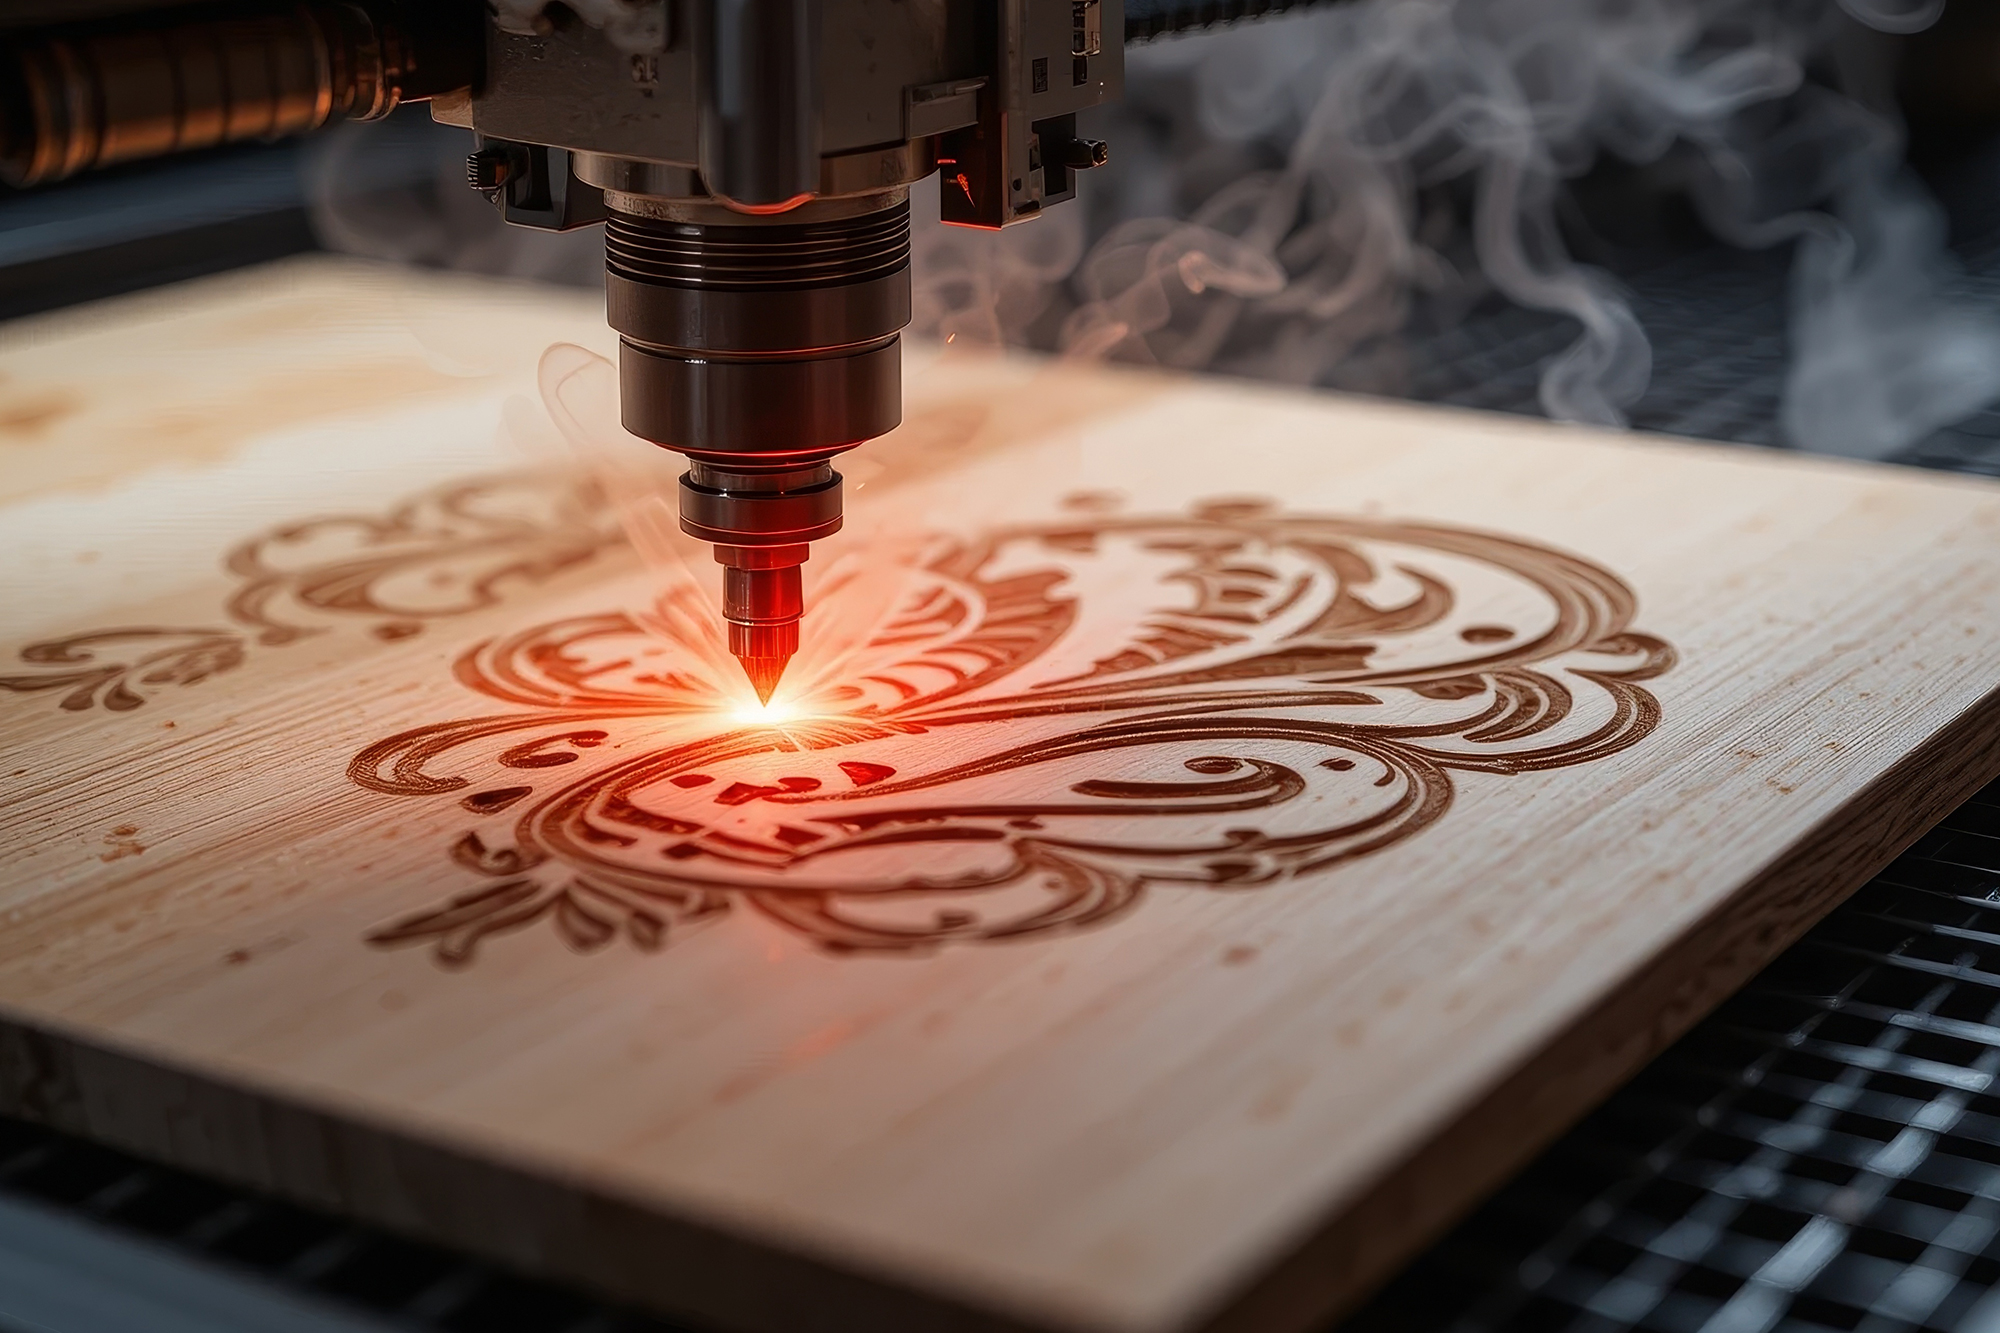
Laser Engraving on Cutting Boards: Design Tips & Care Guide
For DIYers and Businesses Alike:
Personalized cutting boards are one of the most popular laser engraving projects for good reason— they’re functional, beautiful, and make exceptional gifts or branded products. Whether you're a DIY enthusiast with a desktop engraver or a small business creating custom kitchenware, understanding how to properly laser engrave cutting boards is key to producing high-quality, lasting results.
This guide explores engraving best practices, how laser heat impacts wood, and essential care tips after engraving to help you protect your work and your boards.
1. Choosing the Right Wood for Laser Engraving
Before you engrave, your board’s material matters. Not all hardwoods are equally suited to laser work.
Ideal Wood Types:
• Maple – Fine, light grain that contrasts beautifully when engraved. Common in high-quality cutting boards.
• Cherry – Warms up nicely under a laser with subtle grain patterns.
• Walnut – Offers dramatic contrast with a deep tone, though less detail may show in dark areas. • Bamboo – Eco-friendly and engraves well, but glued layers may create inconsistencies.
Avoid: Oily or resinous woods (like teak) and softwoods (like pine), which can burn unevenly or release harsh fumes.
2. Best Practices for Laser Engraving Cutting Boards
Getting clean, professional engravings takes more than just pressing "Go" on the machine. Here’s what you need to know:
Design Tips:
• High-contrast graphics work best. Stick to black-and-white line art or bold typography. Avoid grayscale images.
• Avoid tiny text. Cutting boards may see wear and oiling, which can blur small lettering over time. Stick to fonts larger than 10pt.
• Center your design away from heavy-use zones. Place engravings on board corners or the underside to avoid food contact and wear.
Engraving Settings:
• Use low-to-medium power with multiple passes. This helps avoid burning or charring.
• Adjust speed carefully. Too slow and you’ll burn the board; too fast and details may not transfer cleanly.
• Test on scrap wood first. Each wood species—and even each board—may respond differently.
3. Heat Effects & How to Prevent Damage
Laser engraving uses concentrated heat, and improper settings can scorch or warp a cutting board.
Here’s how to avoid that:
• Watch for charring. A slight darkening is normal, but excessive burning indicates your power or dwell time is too high.
• Avoid deep cuts. Shallow engravings are safer, easier to clean, and reduce the risk of splitting or warping.
• Use masking tape. Applying painter’s tape to the surface and removing it after engraving helps prevent soot stains and provides cleaner edges.
4. Finishing & Protecting the Engraving
After engraving, it’s important to seal and finish the board properly—both to preserve the design and ensure the board stays food-safe.
Post-Engraving Steps:
1. Lightly sand the engraving area to remove any soot or roughness. Use fine grit (220–320).
2. Clean thoroughly with a damp cloth and let dry completely.
3. Condition with food-safe mineral oil or a beeswax blend. This seals the wood and darkens the engraving for a finished look.
4. Avoid varnishes or lacquers unless the board is purely decorative. They’re not food-safe and may crack with use.
Tip: Reapply oil every few weeks for boards in regular use, especially after washing.
5. Care Instructions for Engraved Cutting Boards
To ensure your engraved design and board last for years:
• Hand wash only. Never put engraved boards in the dishwasher.
• Wipe dry immediately. Prolonged moisture can raise the grain and dull engravings.
• Avoid soaking. Water can cause warping and fading of the engraved area.
• Oil regularly. This keeps the board from drying out and preserves the contrast of your design.
For businesses, consider including a small care card with each engraved board—it’s a thoughtful touch that enhances your customer’s experience and extends the life of your product.
6. Bonus Tips for Business Owners
If you’re selling custom engraved cutting boards:
• Offer personalization. Names, dates, or messages make your boards gift-worthy and boost perceived value.
• Brand subtly. Add your logo to the back of the board as a classy signature without disrupting the main design.
• Use jigs for repeatability. If engraving multiple boards, jigs save time and improve alignment.
Conclusion
Laser engraving turns a simple cutting board into a personalized keepsake or branded masterpiece. By choosing the right materials, using thoughtful designs, and taking care with finishing, both DIYers and businesses can create cutting boards that are not only functional—but unforgettable.
Whether you're gifting one to a friend or building a product line, take the time to engrave it right— and treat it well afterward.